
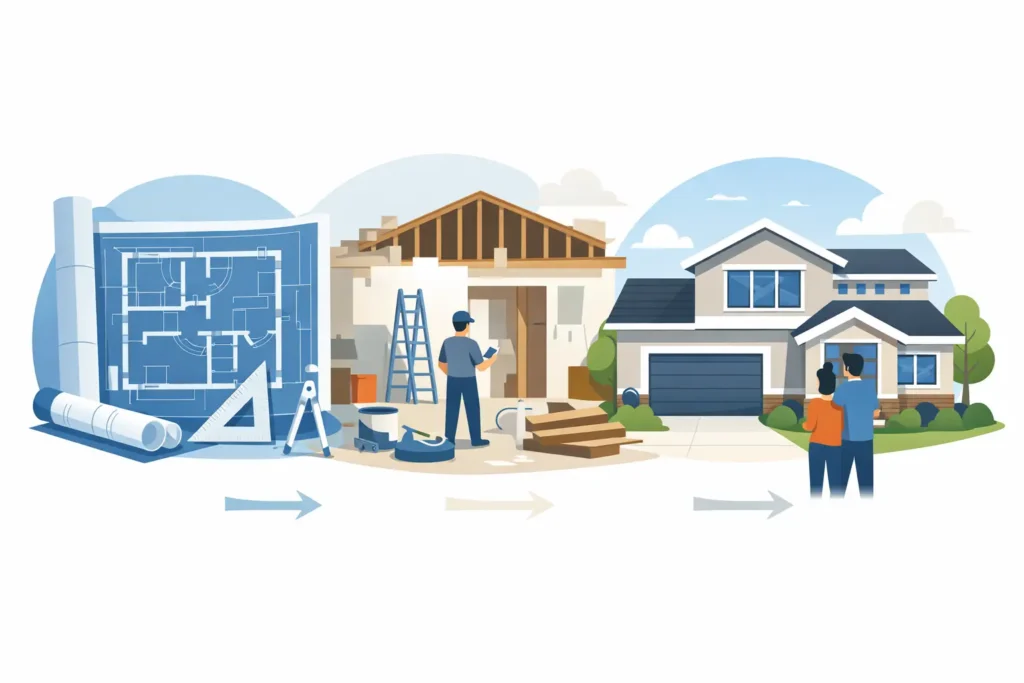
A whole-home remodel is not simply a larger kitchen renovation. It is a coordinated transformation of the way your home looks, works, and supports your life. Understanding the full house remodel phases before walls come down helps Southern California homeowners make confident decisions, protect their investment, and enjoy the process with far fewer surprises.
Whether you are opening a closed-off floor plan, updating a dated primary suite, converting a garage, improving energy efficiency, or giving an aging property a complete new identity, the best results come from a clear sequence. Each phase builds on the one before it.
Phase 1: Define the Vision, Priorities, and Investment Range
The first stage is about more than collecting inspiration photos. It is the time to decide what needs to change and why. A family may need better flow between the kitchen and living room. A homeowner working remotely may need a real office instead of a temporary desk in the dining area. An income property may need durable finishes and a more functional layout that attracts quality tenants.
Start by walking through every room and identifying what is not serving your lifestyle. Separate must-haves from nice-to-haves. For example, replacing unsafe electrical wiring, repairing a failing roof, or resolving plumbing issues takes priority over decorative upgrades. That does not mean your design vision has to shrink. It means the plan should support both a beautiful result and a sound home.
This is also the right time to establish an honest investment range. Whole-home remodeling costs vary based on the size of the property, structural changes, material selections, age of the home, site access, and the level of finish you want. A realistic budget gives your design and construction team the direction needed to create options that feel intentional rather than compromised.
Phase 2: Site Evaluation and Existing-Home Assessment
Before a complete remodel can be designed, the property needs to be understood. An experienced contractor evaluates the home’s current condition, measures the space, and looks for factors that could influence the project.
In Southern California, this can include older plumbing lines, outdated electrical panels, foundation concerns, roof conditions, stucco repairs, drainage issues, termite damage, and previous work that may not meet current code. Homes built decades ago often hold surprises behind drywall, especially if they have been remodeled in pieces over time.
A site assessment is not meant to create worry. It creates clarity. Finding potential issues early makes it easier to plan for the right solutions instead of making costly decisions after construction is already underway. If you are considering removing walls, adding doors and windows, building an ADU, or converting a garage, this phase also helps determine what is structurally and practically possible.
Phase 3: Design Development and Material Selection
This is where the home begins to take shape. Your remodel moves from broad ideas into floor plans, finish concepts, fixture choices, cabinetry layouts, lighting plans, and exterior details. For a full-house project, design decisions need to work together across every space, not room by room in isolation.
A successful design creates continuity without making the home feel repetitive. You might carry a warm wood tone from custom kitchen cabinetry into bathroom vanities, then balance it with different tile patterns and lighting in each room. Flooring, interior doors, hardware, paint colors, windows, and trim all contribute to the finished feel.
Function should lead every major decision. A dramatic island can become the center of a kitchen, but only if it leaves enough room for circulation. A luxurious walk-in shower should feel open while still allowing for proper waterproofing, storage, and ventilation. Large windows can bring in beautiful California light, but the right glass, placement, and shading matter for privacy and energy performance.
Material selections should be made as early as possible. Custom cabinets, specialty tile, appliances, windows, and doors can have longer lead times. Making these decisions during design reduces the chance that construction pauses while waiting for a key item to arrive.
Phase 4: Engineering, Permits, and Pre-Construction Planning
Many homeowners are eager to begin demolition, but the planning that happens before construction protects the entire project. Depending on the scope, your remodel may require architectural plans, structural engineering, energy documentation, permit applications, and approvals from local building departments or an HOA.
Permit needs depend on the work being performed. Cosmetic updates may have fewer requirements, while wall removal, additions, new plumbing locations, electrical upgrades, garage conversions, and ADUs usually involve more detailed review. A design-and-build approach helps keep this process organized because the people creating the plans are coordinating with the people who will build them.
Pre-construction planning also covers the construction schedule, ordering strategy, site protection, communication expectations, and how the household will function during the remodel. For extensive projects, moving out temporarily is often the most comfortable choice. For phased projects, it may be possible to remain in the home, but that comes with trade-offs such as dust, noise, limited access to rooms, and changing utility interruptions.
Before work begins, make sure the project scope is clearly documented. You should understand what is included, what selections have been finalized, what conditions could change the schedule, and how changes will be handled if you decide to add work along the way.
Phase 5: Demolition and Structural Work
Demolition is the most visible beginning of construction, but it is rarely the fastest part of a whole-home remodel. Crews carefully remove old finishes, cabinetry, fixtures, flooring, and walls while protecting areas that are not being remodeled. Proper containment and jobsite organization matter, especially when work is taking place around an occupied property.
Once the home is opened up, the team can address structural changes. This may include installing beams for an open-concept layout, framing new rooms, modifying ceilings, building a room addition, or preparing a garage for conversion. It is also the stage when concealed conditions may become apparent.
A reliable remodeling partner does not treat unforeseen conditions as an excuse for confusion. Clear communication matters. If old water damage, noncompliant wiring, or structural repairs are discovered, you should receive an explanation of the issue, the recommended solution, and the effect on cost or timing before the work moves forward.
Phase 6: Rough-In Work and Inspections
With framing in place, the home’s essential systems are installed or updated behind the walls. Electricians run wiring for outlets, lighting, appliances, smart-home features, and upgraded panels. Plumbers install supply lines, drains, shower valves, and gas lines where needed. HVAC work may include new ducting, ventilation, or equipment sized for the updated home.
This phase is less glamorous than selecting countertops or paint, but it is one of the most valuable parts of the project. A well-planned rough-in creates a home that is safer, more efficient, and easier to live in for years to come. Think about where you charge devices, how you use lighting at night, where you want outlets in a kitchen, and whether bathroom ventilation is strong enough for daily use.
Required inspections typically occur during this stage. Passing inspections confirms that the hidden work meets applicable codes before insulation and drywall cover it permanently.
Phase 7: Walls, Finishes, and the Transformation You Can See
After rough inspections, insulation and drywall close the walls, and the project begins to feel like a home again. Then comes the finish work: flooring, cabinetry, tile, countertops, interior doors, trim, paint, lighting, plumbing fixtures, appliances, and hardware.
This phase requires careful coordination. Countertops cannot be installed until cabinets are in place and measured. Some light fixtures need to wait until painting is complete. Flooring may be installed before or after cabinets depending on the material and design. A skilled project team manages these details so that craftsmanship is not rushed and finished surfaces are protected.
Exterior work may happen alongside interior construction or in a separate sequence. Roofing, windows, exterior doors, stucco, siding details, paint, and drainage improvements can dramatically improve curb appeal while helping the home perform better in heat, sun, and changing weather.
Phase 8: Final Details, Walkthrough, and Enjoying the Home
The final stage is about refinement. Crews complete touch-ups, adjust doors and cabinets, install remaining hardware, test fixtures, and address items identified during the final walkthrough. This is your opportunity to see the finished work closely and ask questions about new systems, product care, and maintenance.
A thoughtful walkthrough is not a formality. It is the last quality-control step before you fully settle in. Check that lighting works as expected, doors operate smoothly, cabinetry is aligned, outlets are functional, tile and paint finishes meet expectations, and every space reflects the approved design.
At Creative Remodeling 1, a full-house remodel is approached as one connected transformation, not a collection of separate projects. The most rewarding homes are the ones where the layout, materials, craftsmanship, and everyday routines all feel considered from the start.
Give yourself permission to plan carefully before you choose the first tile or swing the first hammer. When your vision is supported by a clear process and a team that communicates well, the finished home can feel less like a renovation and more like the place you were meant to live all along.