
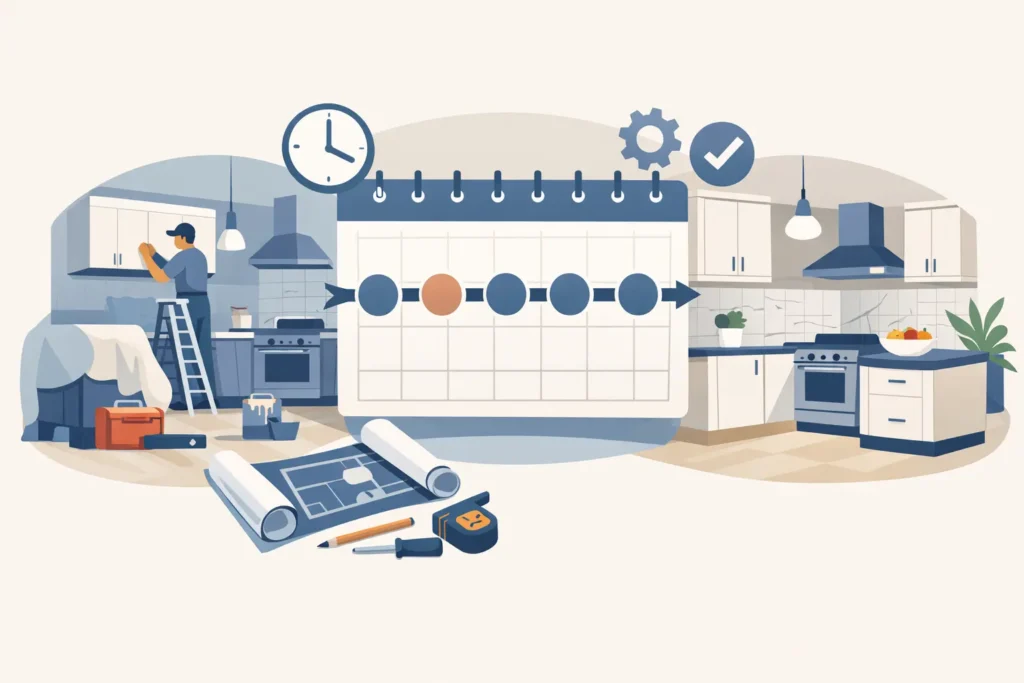
A kitchen remodel rarely feels long because of one dramatic construction day. It feels long when a cabinet decision is delayed, a permit takes longer than expected, or a must-have appliance arrives after the countertops are ready. This kitchen remodeling timeline guide gives Southern California homeowners a realistic view of what happens before, during, and after construction, so your investment stays focused on the result: a kitchen built around the way you live.
Most complete kitchen renovations take roughly 10 to 16 weeks from the first consultation through final completion. The construction phase itself is often six to 10 weeks, but design, selections, permitting, and ordering materials begin well before demolition. The exact schedule depends on the age of your home, the scope of the work, local permit requirements, custom materials, and how quickly decisions are made.
Start With the Life You Want in Your Kitchen
Weeks 1-2: Consultation, ideas, and a working budget
The strongest remodels begin with real-life questions, not just inspiration photos. Do you need more prep space for family meals? Better traffic flow when guests gather? Storage that keeps small appliances off the counter? Or an updated kitchen that matches the value and style of the rest of your home?
During the initial planning phase, your remodeling team evaluates the existing layout, utility locations, structural conditions, and opportunities to improve the space. This is also when you should share your priorities and budget range. A full kitchen transformation may include new cabinetry, countertops, flooring, lighting, plumbing fixtures, appliances, and wall or layout changes. Knowing what matters most helps guide smart trade-offs before the project is underway.
For example, keeping plumbing in its current location can simplify the schedule and protect more of the budget. Moving a sink to an island can create a more open, functional layout, but it may require new plumbing, electrical work, and possibly structural planning. Neither choice is automatically better. The right choice is the one that supports your lifestyle and your investment goals.
Weeks 2-5: Design development and material selections
This is where your vision becomes a buildable plan. A design-and-build approach brings layout planning, style decisions, and construction realities together early, reducing the chance that a beautiful idea creates a costly field change later.
Your design work may include cabinet configuration, countertop materials, backsplash, flooring, paint colors, lighting, hardware, sink and faucet selections, and appliance specifications. If you are opening a wall, adding a larger window, or changing the kitchen footprint, this phase may also involve architectural or engineering input.
Selections should happen before construction whenever possible. Cabinet dimensions depend on appliances. Countertop measurements depend on cabinets. Electrical locations depend on lighting and appliances. Each decision affects the next one, which is why early coordination protects the overall timeline.
Custom cabinets can add several weeks of lead time, while in-stock options may arrive sooner with fewer sizing and finish choices. Natural stone provides unique character but may require more maintenance than quartz. A large-format tile backsplash can look striking but calls for careful installation. These are worthwhile decisions to make thoughtfully, not rushed between demolition and installation.
Kitchen Remodeling Timeline Guide: The Pre-Construction Phase
Weeks 4-8: Final plans, permits, and ordering
Once the design and scope are approved, your contractor finalizes construction documents, confirms product specifications, and places orders for long-lead items. Cabinets, specialty tile, custom windows, appliances, and certain fixtures can all influence the start date.
Permits are often required when a project includes electrical, plumbing, mechanical, structural, or layout changes. Requirements vary by city and project scope across Southern California. A cosmetic update with new cabinets and surfaces may follow a different path than a kitchen that removes walls, relocates utilities, or adds gas service for a new range.
Permit review is not a reason to pause your excitement. It is a practical safeguard that helps ensure the work meets applicable building and safety requirements. Still, approval timing can vary, especially with older homes, hillside properties, condos, or projects governed by homeowners associations. A realistic schedule leaves room for this rather than promising a start date before key approvals are in place.
Before work begins, confirm how your home will function without its main kitchen. Many homeowners create a temporary setup with a microwave, coffee maker, refrigerator access, and simple meal supplies in a dining room, garage, or another convenient area. If your household includes young children, pets, or remote workers, talk through access, work hours, dust control, and safety expectations in advance.
What Happens During Kitchen Construction
Week 1: Site protection and demolition
The construction phase begins by protecting adjacent floors, pathways, and living areas. Then the existing cabinets, countertops, flooring, and selected finishes are removed. Demolition is exciting because change becomes visible quickly, but it can also reveal conditions hidden behind walls or under flooring.
Water damage, outdated wiring, insufficient framing, or plumbing that does not meet current requirements may require additional work. A reliable contractor communicates what was found, explains the options, and documents any change needed to complete the project correctly. Some surprises are unavoidable in remodeling, particularly in older Southern California homes. Clear communication is what keeps them manageable.
Weeks 2-3: Framing and rough utilities
If the layout changes, framing comes next. This may include building a new pantry, enlarging an opening, preparing an island, or reinforcing areas affected by structural modifications. Licensed trades then complete rough plumbing, electrical, HVAC, and gas work as needed.
This stage is not the most photogenic, but it determines how the finished kitchen performs. Outlet placement, dedicated appliance circuits, task lighting, venting, water lines, and drainage all need to be coordinated with the approved design. Inspections may occur at this point, and passing them is a required milestone before walls are closed.
Weeks 3-5: Walls, floors, and cabinetry
After rough inspections, the team closes and finishes walls, addresses flooring preparation, and readies the room for cabinets. Depending on the scope, flooring may be installed before cabinets, after cabinets, or in phases. The best sequence depends on the flooring material, cabinet plan, and whether you are extending new flooring into nearby rooms.
Cabinet installation changes the feel of the room almost immediately. Once the boxes are level, aligned, and secured, the kitchen’s layout becomes real. Measurements for custom countertops are usually taken after cabinets are installed, because even small field adjustments can affect the final template.
Weeks 5-7: Countertops, tile, and finish work
Countertop fabrication typically begins after templating. During that wait, installers may complete backsplash tile, trim, paint, and other finish work. Fabrication timing varies by material and complexity. A simple quartz layout generally moves faster than a natural stone design with multiple seams, waterfall edges, or a detailed island.
When countertops are installed, the remaining details can move forward: sink and faucet connections, appliance installation, lighting fixtures, cabinet hardware, and final touchups. This is the stage where a well-planned kitchen starts to show its personality.
The Final Weeks: Inspections, Details, and Walkthrough
Weeks 7-10: Completion and closeout
The last portion of a kitchen remodel is about precision. Your contractor completes final connections, addresses punch-list items, schedules final inspections when required, and walks through the finished space with you. Test cabinet doors and drawers, appliances, outlets, fixtures, and lighting. Look closely at grout lines, paint edges, countertop seams, and trim.
A thoughtful walkthrough is not about searching for flaws. It is how you make sure the finished details reflect the agreed design and the space is ready for daily life. Save manuals, warranty information, finish details, and care recommendations in one place. Stone, wood, tile, and specialty fixtures each have specific maintenance needs that can protect their appearance for years.
How to Keep Your Kitchen Remodel Moving
The most effective way to protect your schedule is to make major decisions before demolition. Confirm appliances early, avoid changing the layout once rough work begins, and choose materials with lead times that fit the project plan. Keep a small contingency in both time and budget for conditions that cannot be seen until walls are opened.
Communication matters just as much. A dedicated remodeling partner should give you a clear project sequence, explain what is happening on site, and help you make decisions before they become delays. At Creative Remodeling 1, that hands-on guidance is part of creating a kitchen that feels polished, personal, and practical from the first sketch to the final walkthrough.
Your kitchen should not be rushed simply to meet a calendar date. Give the planning process the attention it deserves, and the finished space can reward you every day with better function, elevated style, and room to enjoy the people who make your house feel like home.